Processing Tip #1: Blue-skying

I’m back in Canada now after four months of living and cruising on our sailboat, Windsong II, in Florida and the Bahamas. As you can imagine, the photo opps were astounding and I did my best to fill up my camera cards with images. Tons of images.

Images that make my heart flutter when I look at them and they bring me back to the feelings of awe and wonder I experienced daily.

Images I now have to go through and delete or process.

I shoot RAW so I don’t have a choice about processing — I have to do it because the image straight out of the camera (SOOC) is not already processed by the camera in the way that jpegs are. A raw image is  like a digital negative and has to be developed in the same way that film negatives have to be developed and tweaked in the dark room.

Processing demands myriad decisions on the part of the photographer about how to present your image to best express what you saw and felt when you clicked the shutter and what you want to share.

Sometimes what comes out of the camera just doesn’t reflect what you saw — because our camera does not have the dynamic range of our eyes or because we didn’t expose properly for the conditions or for some other reason. So we fix things up during the editing process…

I’m always learning about processing — it’s a never-ending journey that I derive so much pleasure from. I’m constantly searching for better ways to achieve and express my vision in my images.

I gather information and ideas from books, other blogs, podcasts, video tutorials, e-books and online classes. I’m forever trying out new techniques. Some I keep and return to over and over — some do nothing for me. To me, editing is not a necessary evil — it’s part of the joy of the creative process.

I’m thinking that many of you are like me and it might be fun to share each other’s experiments.

So I decided to launch a new series of processing tips, in which I share some simple processing techniques that I pick up and test out. I mainly use Adobe Photoshop CC, Adobe Camera Raw and Lightroom.

I’ll share the link to the source of the information, which will contain the how-to’s so you can try it out too — and I’ll share my results.

So, on to Tip #1…

I saw this tip on Lightstalking. It’s great for pepping up those washed out or bland skies that we all struggle with from time to time.

Now, of course there are many other ways to achieve the same goal — both in camera, using filters and through processing. But this is a quick and easy way to deepen the blues of your skies in a natural looking way. By combining targeted changes to the exposure and saturation, the result is very pleasing.

Here is my image — before and after. See what you think…

I’d love it if you’d share your go-to methods for doing the same thing, in the comments or on your blog.

BEFORE


overdraught - sqbf

Before


AFTER


overdraught - sqafterfin

After


Windex for the eyes…Part 1

orange and gree

Part 2 is delayed due to technical difficulties….it will be posted as soon as possible.

Sometimes in life serendipity takes over. And I’ve learned that it’s kind of crazy to ignore it.

When I left Canada in January, I had no plans to take a photography workshop , but when the opportunity presented itself, I hesitated a few minutes and then decided to jump at it.

I had heard of the Miksang school from Kim Manley Ort, and I have long admired her contemplative approach to photography, which has Miksang roots.

So when I read that there were a few places left at a workshop being held at Delray Beach, only a short distance away, it all seemed quite doable.

I was also familiar with the teachings of the instructors, Julie Dubose and Michael Wood, through their books, which I owned and had pored over, fascinated by their unique approach. I had also gone through the photographs in their books marvelling at how startlingly fresh they were.

What would I learn I wondered? I still didn’t know quite what to expect, but was quite excited about the prospect of devoting four full days to photography.

This slideshow requires JavaScript.

And while the workshop  was definitely about photography, it was so much more than that. There was no instruction about how to take a “good” photograph or compose a “good” image.

In fact, the desire to take a good photograph was discussed as an obstacle to direct perception! Our ideas of what is good are very conditioned by how we have been taught and can really get in the way of really seeing what is right there in front of us.

So this workshop was really about seeing. Seeing without filters — without overlays of meaning and value, pleasure, dislike, or disinterest. Seeing afresh, seeing as if for the first time.

As Julie and Michael say: “These perceptions are vibrant and vivid, pulsating with life. The visual world is our feast, our playground. Seeing in this way brings us joy in being alive.”

Who wouldn’t want to see this way?

This slideshow requires JavaScript.

The camera comes in as a tool to express our visual perceptions exactly as we experience them.

Julie and Michael continue: “Through our images we can express our experience of seeing. Our photographs will carry within them our heart, our mind, the blood of our experience.”

Now that might seem easy, but it’s really incredibly difficult. I’ll talk about that in Part 2.

I loved the format of the workshop. We gathered in the morning to hear a short presentation and go through some experiential exercises designed to sharpen our perceptions. These were quite extraordinary in their effectiveness, yet so easy we learned we could do them any time we wanted to “wake up.”

Then we spent several hours working on our assignments and having lunch somewhere in the warm, colourful and visually delightful community of Delray Beach. Then back to the workshop to select the 10 images we wanted to share. The rest of the day was spent looking at each others’ work and hearing the instructors’ and other participants’ reactions.

The first two days we focused on colour, the next day on texture and the last day on pattern and light.

Stay tuned for more in Part 2…

This slideshow requires JavaScript.


A time for refinement…

crab

The feeling of an evolution is a constant for every artist who is pursuing the search for refinement and enlargement of his/her own means of expression.

Andrea Bocelli

I was very much into using textures to process my images a year or two ago. I loved the painterly look that you could achieve and the soft dreamy quality of so many textured images.

I’m still drawn to these images and I admire and enjoy the texture work on the blogs and sharing sites of so many artists and photographers I’ve met online.

But I stepped away from it myself, and this is why…

At one point I realized that I didn’t want to use heavy processing with textures as a crutch when I didn’t know what to do with a less than stellar image. So I decided what I needed to do was spend more intensive time learning and practising and honing the craft of photography — which is really what I’m in love with. I wanted to take full advantage of my equipment and make better base images — by honing key skills — exposure, composition and framing, and focus, for example. I wanted to do a better job of getting my images right in camera.

I also wanted to delve deeper into the hard work of discovering and developing my own unique approach and vision. This has challenged me to become more contemplative and intentional in my image-making, as well as more experimental and risk-taking. I feel I’ve seen an improvement in my images and while many of my experiments have not seen the light of day, they have also yielded some happy results and taught me so much. And not only have I gained ground by working on simplicity, abstracts, double exposures, long exposures, ICM, etc etc etc, I’ve also truly enjoyed every moment. The more I can master the craft, the more my images will become a means for expressing myself.

Over the next while I intend to continue to strive for the best image quality I can get from my camera, I also want to return to spending time refining my processing techniques. For example, I want to learn luminosity masking and make better use of Adobe Camera Raw for raw conversion. (ACR is basically the same as Lightroom, without all the photo organization abilities.) I just learned a few new ACR and Photoshop techniques from a video with Ben Willmore on Creative Live that have me quite excited.

And so just for fun I hauled out my textures the other day and had a play with a few recent crabapple images. I’ve learned that when I start off with a better quality image, I am generally happier with the results of adding textures. My taste is at the “less is more” stage so I went fairly light on the processing of this image to let the beauty and delicacy of the crabapple blossoms shine through.

What are you refining these days?


Abstract discoveries…


dish towelsI devoted the month of February to experimenting with abstract photography. Guided and inspired by the generous and talented Kim Manley Ort and accompanied by an enthusiastic group of kindred souls on Flickr, I challenged myself to see reality around me in a very different way.

Here are some of my key discoveries:

  • Abstract photography is a vehicle to get more in touch with your own instincts, emotions and passions. It removes the literal from your images. You don’t need to know what the subject is to like it. For example, I connect with the image above not because of what it is  —  dish towels, actually — but because of how it makes me feel: energized, empowered and part of the earth. The green, deep blue and orange are to me the elemental colours of fire, water, sky and earth.
  • Abstract photography is just plain fun. It is a doorway to joy. It gives you permission to play, to bend and break the rules, to follow your bliss and not worry about the result. Like a child with finger paints, sometimes you make a big mess — and other times you are unexpectedly delighted by a beautiful and meaningful image. It doesn’t really matter; it’s all good.
  • In the future, I think I’ll come back to abstract photography any time I’m in the creative doldrums, when I want to shake myself out of habitual and stale patterns. This secret antidote might just work for you too. Part of what freezes us up when we pick up the camera is a desire to make “good” or “popular” images, and we often judge ourselves against similar types of images made by others. But when we free ourselves to create something that is not at all recognizable, then we are liberated from judging it against criteria that are not our own. And since we’re also not so bound up by needing to achieve the perfect exposure, composition and framing, we are released to take more risks and experience the possibility of creating something new and different. Just that excitement alone can reinvigorate our photography. 
  • Abstract photography can also help you improve your “regular” photography. How is that? Making abstracts trains you to see more directly what lies at the base of any image — lines, shape, patterns, light, colour.  When the image is something you are familiar with, you can become distracted by your ideas and preconceived  notions of the thing, and your perceptions are not as pure as they might be. But when you remove the label from what is happening in the frame, you see only how light, line, shape and colour are dancing together. That is all. This heightened awareness can make for fresher and more exciting images, abstract or not.
  •  I commented in an earlier post that “one of the things I love the most about this form of photography is that it keeps revealing just how varied and mysterious the world really is when looked at through different eyes — there is so much more to see and enjoy than we usually let ourselves. And you don’t have to go far. It is astounding how many surprises you can find even in your own home — in the few feet around you.” (I doubt I would have seen the creative possibilities of light on dish towels before this course!)

Now, you definitely don’t need a course to play around with abstracts. You just need an open mind and a desire to try different things. Going really close up on familiar objects is one technique that can yield interesting abstracts. So are deliberately blurring your images and even adding camera movement (ICM) while you are blurring them. And if you are near water, even puddles, do try out abstract reflections. These were some of my favorite images this month.

But I would highly recommend taking Kim’s online course if abstract photography appeals to you at all. You will find her a wonderful catalyst to creativity. The course was a perfect balance of reading about abstract artists, techniques and ideas and real practice. The feedback from Kim and the other participants is always supportive and encouraging. And I found seeing such a wide diversity of abstract work emerging from the group to be exciting and inspiring. The course has started me — and many others — on a continuing journey that I know will deepen and change and keep me engaged for a long time to come.

Kim Manley Ort offers a wide range of equally exciting online courses as well. Why not sign up for her newsletter so you will be the first to know what she has coming up next?

On the same tree…

If what I say resonates with you, it is merely because we are both branches on the same tree.

W.B. Yeats

trees icm1500

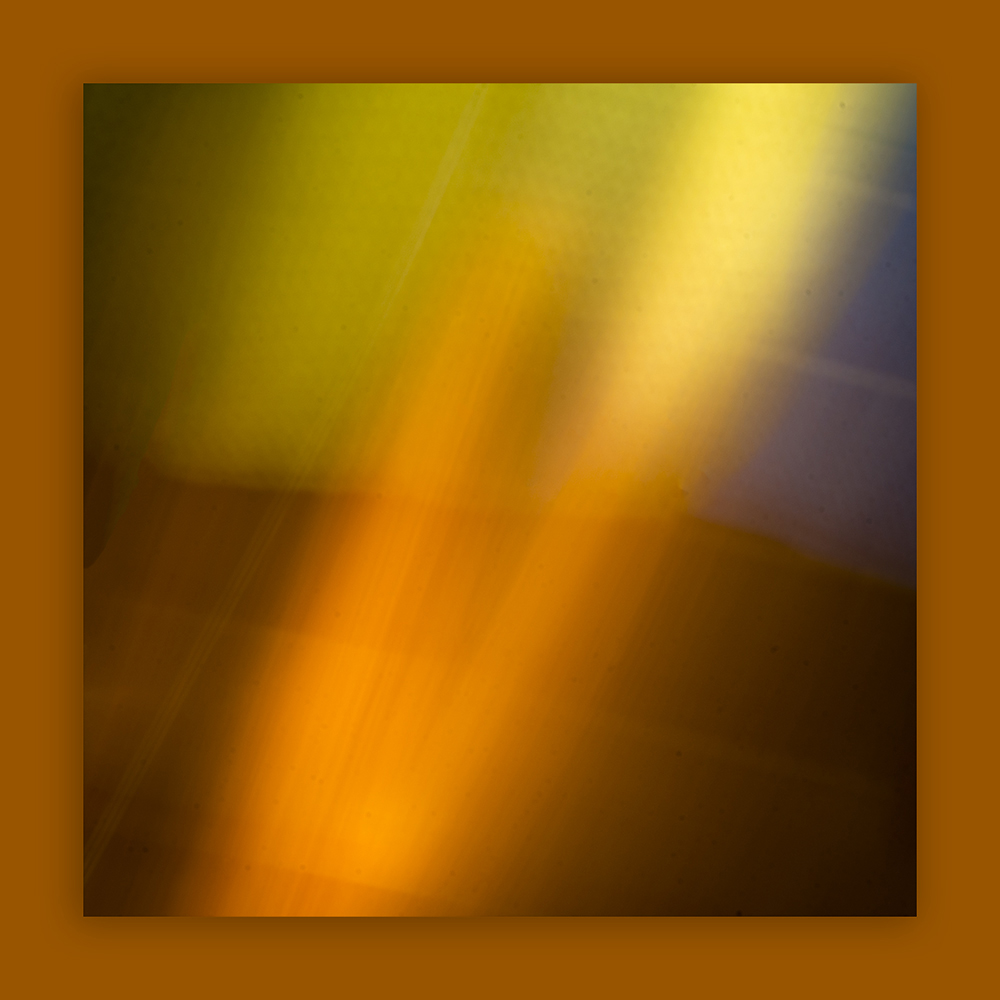
It’s been a while since I tried “intentional camera movement,” or ICM as it’s known. (You can see a previous experiment here plus find out about the technique.)

But since we’re coming to the end of the abstract photography course I’ve been taking, I thought I would give it another go. It’s a technique that takes a great deal of patience since the ratio of failures to successes is quite high. But it’s definitely worth the effort.

Even though I’m a big fan of non-recognizable abstracts when it comes to water reflections for example,  I tend to prefer a slightly recognizable subject when using ICM.

You have to use a slow shutter speed so it’s important to control the light that comes into the camera otherwise the overall effect will be far too washed out. I tried several different combinations before I was happy.

For this image, I used a very low ISO and a small aperture combined with a quarter second exposure. I thought about using a neutral density filter but found that I didn’t really need to. I was pleased that the trees were still outlined and the colours were deep and rich in the example above.

Tell me, do you enjoy making ICM images, and if so, do you have any tips to share?

Double, double, anyone?

leaves-double-1000

In my continuing quest to expand my repertoire of photographic techniques to help me better express my creative vision, I returned to playing with in-camera double exposures. I did a few back in the spring, but never fully explored their potential.

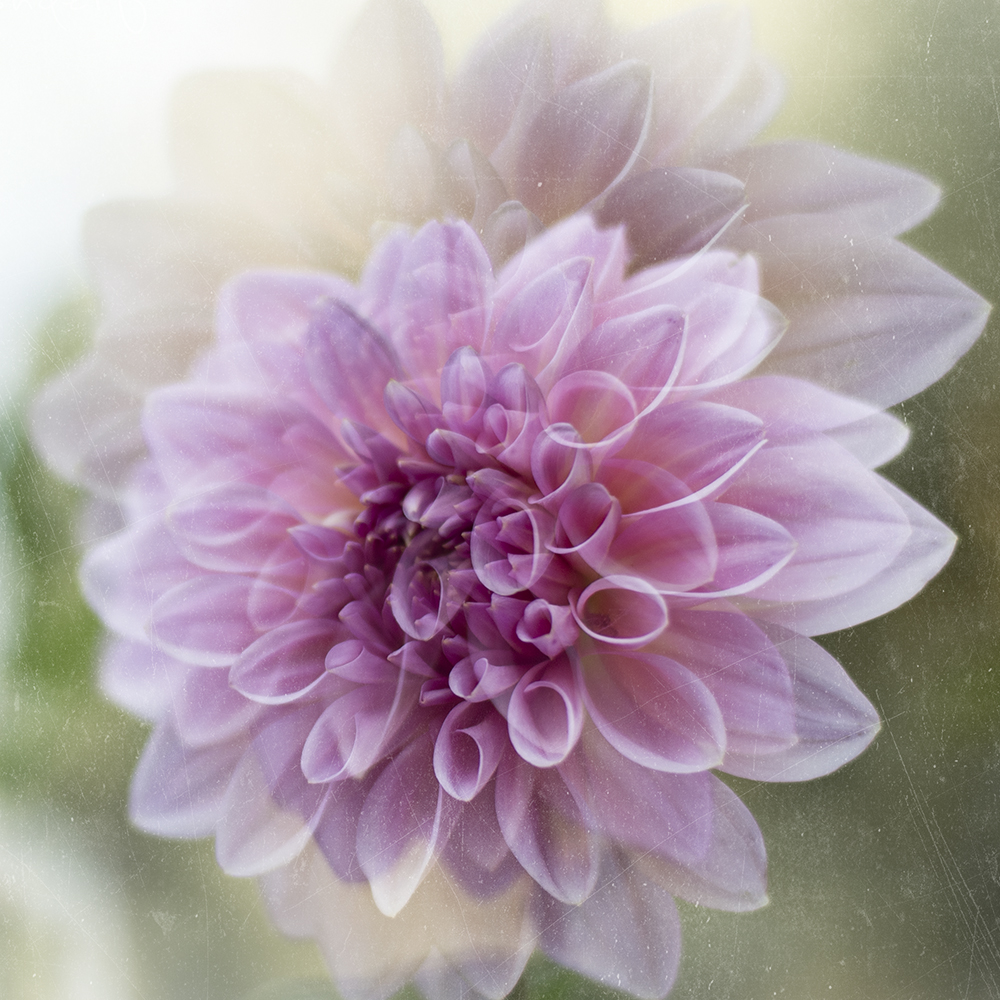
I had a quick trip to Toronto in the last week and something inspired me to try a few more double exposures. Here is the pink dahlia again. In this image I think it has  a completely different mood (I also added a magic texture by Kim Klassen.)

dahliadouble-1000

Double exposures really lend themselves to surreal, dreamlike, impressionistic effects — and make for great abstracts — which I’m drawn to in photography. Sometimes you just don’t want your view of the world to be too real and too literal!

This technique can, of course, be done easily with layers in Photoshop, but the joy of doing them in camera is the element of surprise when you create something unexpected. You never know quite what you’re going to get. You don’t have anywhere near the same control, but you do have some control, especially as you refine your process.

One great way to use double exposures is with creative portraits. Here are a couple I tried with my beautiful sister. (She may even use one for her Facebook profile pic!)

We were in a sweet tearoom in a little town north of Toronto. I shot her silhouette against the big window and blew out the background. Then I ran around the tearoom looking for content to fill in the underexposed areas. It takes just seconds and the results can be interesting. Of course you can combine this technique with textures or other processing techniques to get the feeling and meaning that you’re striving for to your heart’s delight.

elena double2-1000-2

elena double1-1000

If this appeals to you at all and you have this feature on your DSLR, I urge you to give it a go…and share your creations!

Sharing with Kim Klassen’s Texture Tuesdays.

Nowhere else in the observable universe…

Image location: near Kitchener Ontario; Technique: Intentional Camera Movement; Processing: Flypaper Textures

Go outside, now, and look at any randomly selected piece of your world. It could be a scruffy corner of your garden, or even a clump of grass forcing its way through a concrete pavement. It is unique.

Encoded deep in the biology of every cell in every blade of grass, in every insect’s wing, in every bacterium cell, is the history of the third planet from the Sun in a Solar System making its way lethargically around a galaxy called the Milky Way.

Its shape, form, function, color, smell, taste, molecular structure, arrangement of atoms, sequence of bases, and possibilities for a future are all absolutely unique.

There is nowhere else in the observable Universe where you will see precisely that little clump of emergent, living complexity.

It is wonderful.

Brian Cox


Expanding your range…

Lately, I’ve been having fun teaching myself new photographic techniques and practising some that I learned a while ago. I’ve been playing around a bit with HDR (high dynamic range) photography to see what I can do and what I think of it.

I won’t talk here about how to make HDR images — there are lots of good tutorials you can find using Google. Here’s one that’s pretty straightforward. Yes, you do need special software to combine the exposures. I use Photomatix Pro. Photoshop can also do HDR but I’ve never been able to get good results with it.

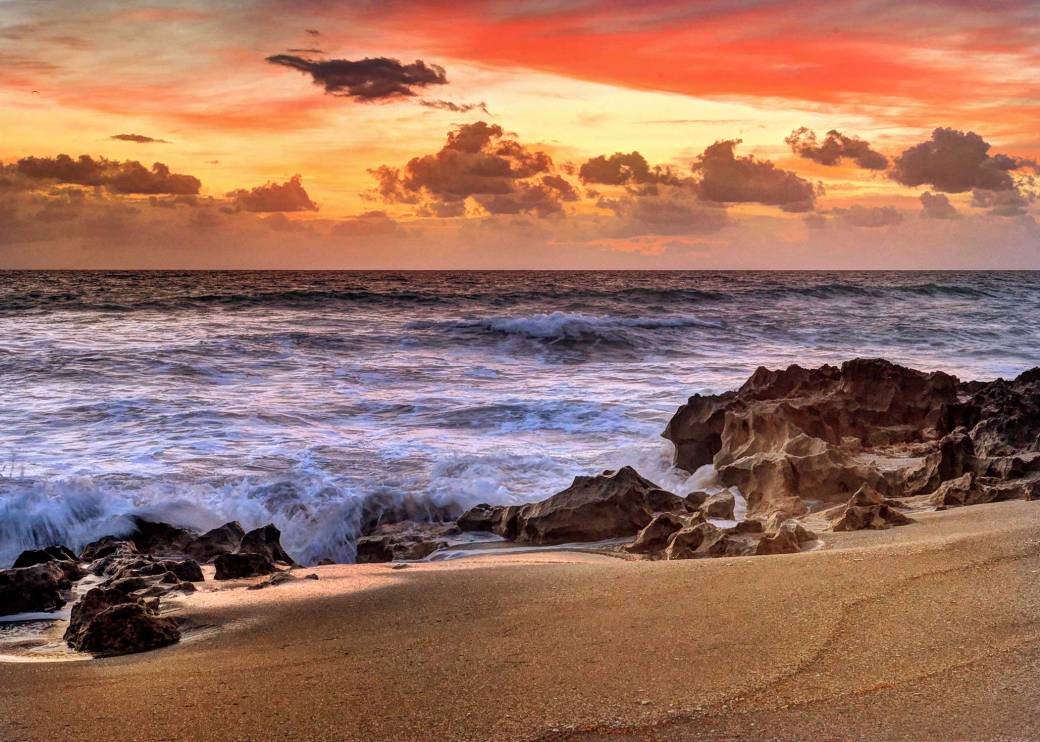
Here is a recent image of Hutchinson Island beach at sunrise made with three exposures, two stops apart. I was quite pleased with it. The technique did a good job of capturing the scene with all its inherent drama.

sunrise5HDRbluelr

Not everyone loves HDR images. We’ve all seen some poorly done and pretty aggressive uses of HDR with unnatural and psychedelic colours. I’m not fond of these, personally. But I’ve also seen many images that use HDR to enhance an image and make it look more like what the eye saw at the scene. Done well, even the more extreme applications of HDR can be beautiful and pleasing to the eye and can convey artistic visions that stop you in your tracks.

Check out Toad Hollow Photography for some great examples of HDR and some useful tips and tricks.

The fact is that no matter how expensive your camera is, it’s just not as good as the human eye. Our eyes are able to look around us and simultaneously see the detail in dark areas as well as bright areas. This is called “dynamic range,” and our eyes have a lot more of it than any camera (11 to 14 stops versus 4 to 6 stops for a camera.)

Your camera has to meter a scene, which means it picks a part of the image and tries to expose it correctly (not too dark and not too bright), and trusts that the rest of the picture will adjust accordingly.

That’s why, after you shoot a high contrast image, it can be disappointing. It doesn’t capture the scene the way you remembered it. The highlights are blown out or the shadows have no detail.

A couple of weeks ago, we were over at a relative’s house at dusk. The sun was setting in the west (to the left of the image) and the whole scene looking out over the lagoon and into the waterway beyond had a magical look to me. People in the surrounding houses has started to put their indoor and outdoor lights on and they were illuminating the water. A heavy, dark cloud cover was coming toward us, adding drama to the scene. The water was glowing.

I knew from experience that a straight shot wouldn’t capture the true beauty of the scene as I was experiencing it. So I shot three exposures, using my bracketing function and a tripod to keep things still.

leo'sview

It’s when you import the shots into Photomatix that you have all the creative decisions to make. You can be as conservative or as crazy as you like playing with the sliders. I tried to remain as true to what I saw as I could.

leo'sview2

Then, the other night, we were having dinner with a friend by the pool. The water was a beautiful shining turquoise colour against an ink blue sky and the palms were illuminated. I tried another set of brackets.

pool mc-small

And then I turned my attention to the palms and their reflections in the canal and the Manatee Pocket at night. I find HDR opens up a lot of possibilities for capturing images at night.

I have lots more experimenting to do with HDR and plenty of work ahead to refine my techniques, but I’ve come to the conclusion that HDR is worthwhile to pursue. This is just the beginning…

What about you? Have you tried HDR? What do you think of it?

Linking with Kent Weakley’s Sweet Shot Tuesday and Watery Wednesday

palmsat-night

A wider view…

canalpano

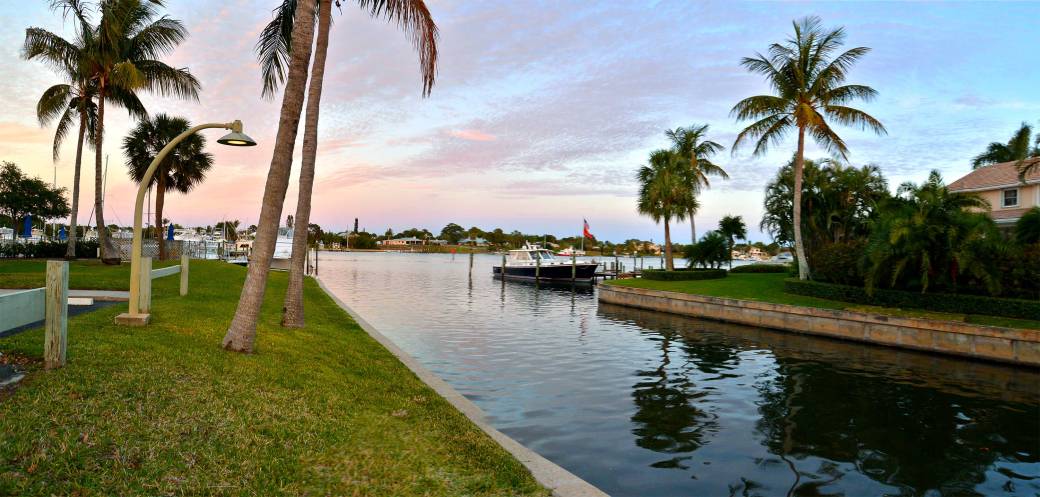
View of Manatee Pocket from the canal beside the marina.

It so often happens that I want to get more into my image than I can, especially when I’m around waterscapes. It occurred to me that I could use the panorama feature of Photoshop to capture some wider vistas. So I decided to do a bit of experimentation earlier this evening.

This image is composed of the following two stitched together.

DSC_7791

24 mm

DSC_7792

24 mm

It’s vital to keep the exposure and focus and white balance exactly the same in both images to make this work. You need to overlap anywhere from 20 to 40%. And the alignment is critical of course, which is not that easy, even with a tripod. But it’s quite fun to press the photomerge button and see the images combine into one. Now I need to get out there and get some more practice with larger panos…

Here are some easy-to-follow tips from Scott Kelby on creating panoramas.

Looking up…

This world is but a canvas for our imagination. Thoreau

I’ve been feeling the urge to step further away from the world of photographic realism and play with the stuff of dreams — and dreams often take place in the dark.

I don’t tend to photograph where there isn’t much light. It’s hard. It can be scary. I don’t often want to take my camera into the shadows. But it can be so rewarding.

Photographer Ron Bigelow opens up new possibilities with his comments about shadows:

“Shadows are an entity as alive as the light. It is the shadows that shape the light, that draw attention to the light, and that integrate with the light to produce striking photographic opportunities. If we are to reach our full potential as photographers, we must think as much in terms of mastering the shadows as we do of mastering the light.”

I can’t help but think that the same is true of life.

I shot the original image with a long exposure and rear curtain flash during the blue hour. I loved the effect that emerged. The blur in the foreground is a car driving by. I captured a person who had climbed up the stairs to the top.

The image evoked a strong mood in me and started to suggest some meaning. I then turned it into a composite by layering on the side view of Buddha’s head. Applying Kim Klassen’s textures “booklight” and “storm” finished off the image I had in my mind’s eye.

Sharing with Kim Klassen’s Texture Tuesdays and Photo Art Fridays.