

For me, there are few better ways to preserve and relive memories from a great trip than to make a photo book. (One of my most popular posts last year was about making a photo book so I know others are also interested in the process.)
I’ve been holding on to a discount for a photo book from Photobook Canada that expires in a few weeks (they’re always having sales), so I decided I better get going on making a photo book of the Bahamas sailing trip we just returned from.
(I’ve used Photobook Canada before to make a large hard cover book of memories for my mother’s 85th birthday and was very pleased with the result and the awesome price. There’s also a Photobook America and they sell to many other countries as well.)
I adore the process of printing my images in books for so many reasons. It allows me to go through all my photographs and pick out the ones I like the best and will enjoy returning to over and over.
These are usually the ones that give me a little quiver of excitement when I look at them and bring me right back to the place and time when I captured them. They let me enjoy the adventure again and again.
Of course, I love posting images on this blog, but I find the books to be more present and tactile and you experience and see the images in them in a completely different way. There is a longevity and a permanency to the photo book that I really appreciate.
I’ve made many numerous books in the past and there are many great companies out there. I’ve been very pleased with Artisan State and Milk Books/Moleskine. For more casual softcover books, Shutterfly works well.
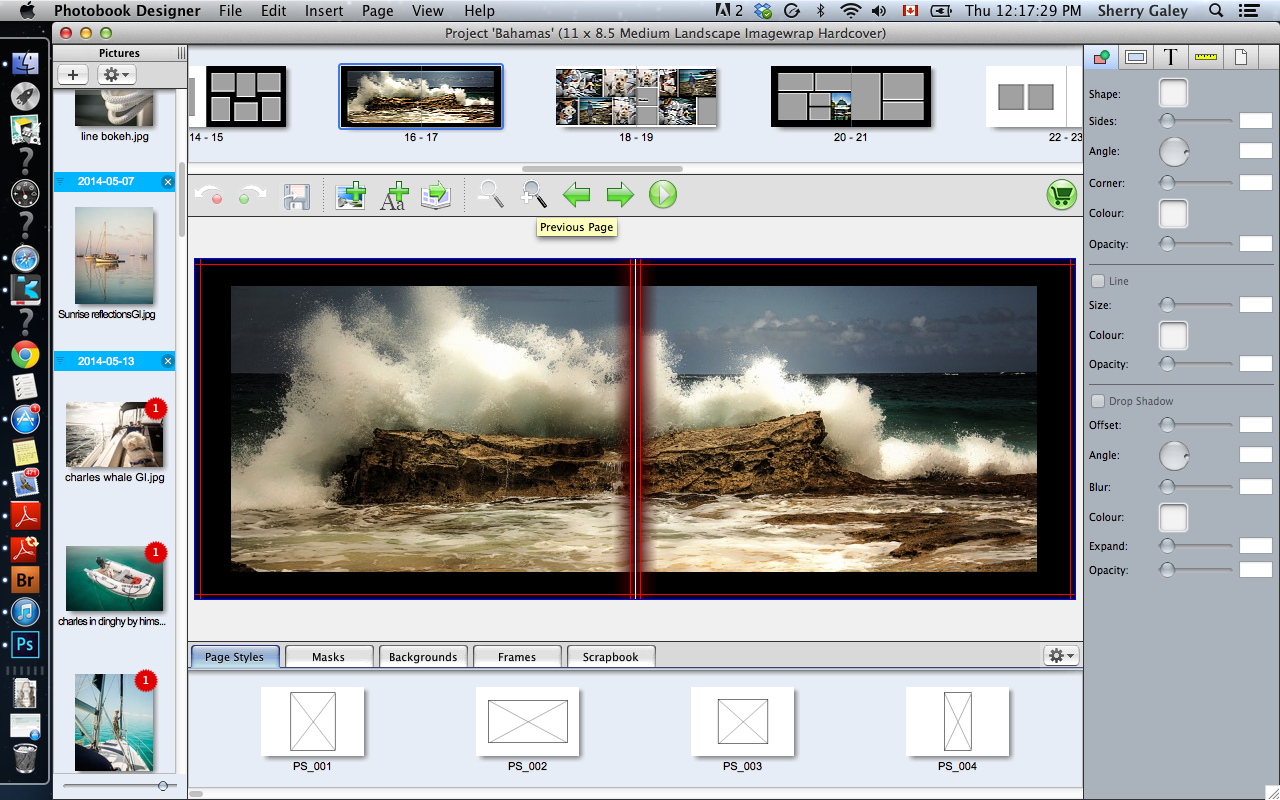
Generally, you have many page layouts to choose from and it’s great fun to find the ones that best enhance your images and allow you to tell a story. I have included some screenshots here to show the user interface I’ve been using and some shots of my project in process.

The strip down the left hand side contains images I want to include somewhere in the book. The horizontal strip at the top contains finished and unfinished page layouts in order. The horizontal strip at the bottom contains possible page layouts. You can’t see all the potential choices here but there are zillions.
Then it’s just a matter of sliding your image into your selected layout and applying a background. It’s all placed and automatically resized for you. Then it is easy to tweak to perfection using the right hand panels. You can make each page different if you want, you can add borders and scrapbooky type things, but I prefer to keep this one simple with consistent black backgrounds.
If you change your mind about the placement of an image or a layout — which I do all the time — and want to remove a photo or try another layout or background, it’s easy peasy. It’s simple and fast to reorder the pages too. I haven’t added much text yet, but you can add a lot or a little and the font choice is enormous.
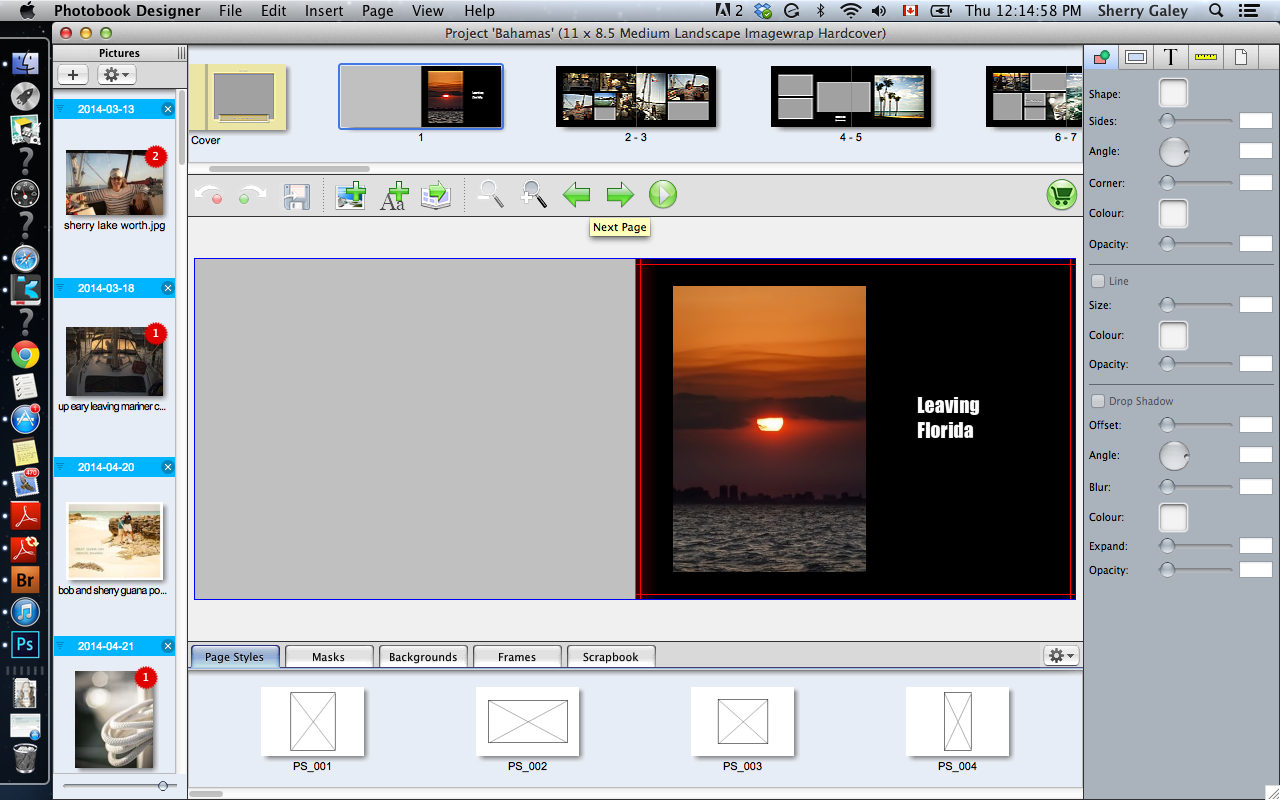
I’m approaching this book chronologically, but I’m also trying to keep the images on the same two-page spread in the same tonal range and on the same theme, for coherence. I generally make a rough list of all the places/people/subjects I hope to include, but I basically approach the initial selection of images according to my gut and intuition. Once I upload a bunch of photos I love, I check against the list to see what I might be missing and then go in search of those.
I generally prefer to have fewer bigger images on a page spread for greater impact, but this time I have so many images that are vying for a spot that I’m creating some spreads for a larger number of smaller images. Naturally, Charles gets a two-page spread to himself!
Making a photo book is really a continuation of the creativity that was at play when you were making the images originally.
Well, I guess I better get back to it and finish playing!
I know many of you reading this also make photo books. What do you enjoy most about the product and the experience?


loved you showing us how to make a book….beautiful.
I can’t compare not having used Blurb Barb but this couldn’t have been much easier. Looking forward to making the next one…
Having a coupon that’s about to expire helped push me to get it done. Hate wasting $! It’s all finished now and I’m anxiously awaiting the result. I had so many photos this time it was really hard to choose. Good luck with yours, Cheryl!
This is going to be so wonderful Sherry, I also love making books. I have only used Blurb and found the process well let”s say upsetting. I loved the book but the process of making it hard in the process. This one looks so much easier. I will check this one out for sure when I make another one. Thank you for the heads up and the screen shots.
Just the kick in the butt I needed. Loved your post and the fact that you are not letting time get in the way of getting the job done. I need to just buckle down and get the job done.
Your photo’s are gorgeous and deserve a lovely book. In the meantime, I’m going to start checking out books.
Have a beautiful weekend Sherry.
I’m pleased with the way it’s coming together so far, Beverly. I think it will be well worth the time and effort. Cherished memories, preserved!
Sherry your memory book is going to be so beautiful!!! I’ve enjoyed seeing all your photos posted on FB and your blog, and they are all breathtaking! How exciting to have them all packed into one nice book!!
That’s true about the choices, Lisa. I try not to over think them but it’s hard! Thanks for dropping by. Another vote for Blurb!
This is going to be beautiful, Sherry!
I use Blurb, and have nothing but good to say about the end product.
I love it when the book arrives, but not so much putting it together.
I think there are just too many choices. 🙂
We have that in common, Viv! I will give Blurb a go in the future…many more books to be created…
I love making photo books and Blurb are my favourite printers. I love being able to pore over them an relive the places I have been….